Colaborate in Latex: Overleaf and local git
By Dmitry Kabanov
When you write a paper in \(\LaTeX\) and your collaborators prefer to use Overleaf but you prefer to use local setup, then you can do it with the help of the git version control system.
Overall, the process is the following. You create a local git repository and sync it to a remote git service of your choice. Then you create a project in Overleaf. In the project settings you can find the link which you add to your git setup as the second remote server. The details are below.
Creating the local git setup. This is done the usual way by creating a
project folder and invoking the git init command inside of it.
Add a git remote. After creating a repo in the chosen git cloud service, you add it to your local git configuration as an origin remote (this name is a customary name for the primary remote in git).
Creating an Overleaf project. After creating a project in Overleaf, you can
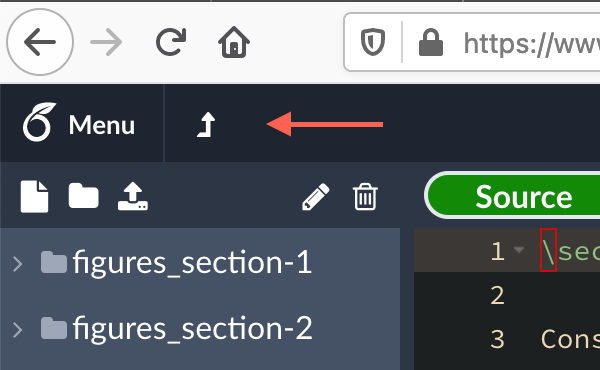
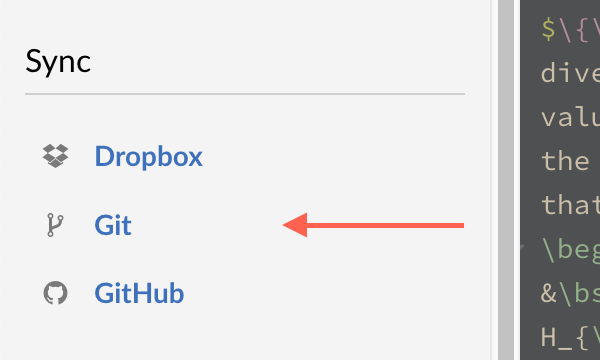
find the git URL in the leftside panel by clicking Menu and then Git in the Sync
subsection. The URL will look like https://git.overleaf.com/ followed by
letters and digits.


Adding the Overleaf git remote. Now you need to add this URL as the second remote in git:
git remote add overleaf https://git.overleaf.com/random-letters-and-digits
Actual collaboration. The setup process is done and you can syncronize your
origin and overleaf remotes by pulling and pushing to them.
For example, your collaborator tells you that he made changes on the Overleaf
side.
To syncronize these changes to your git cloud, you need to execute these
commands:
git pull overleaf
git push origin
and to push your changes to Overleaf, the command is
git push overleaf